Import SVG and export to OBJ
PlastiSketch can be used to easily import one or more SVGs to create an OBJ file
First click on the import button to import the SVG into PlastiSketch
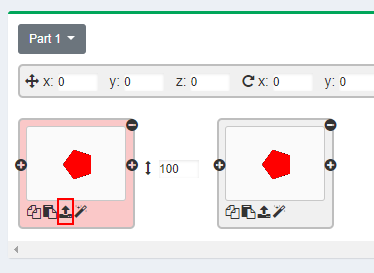
The import button is highlighted red
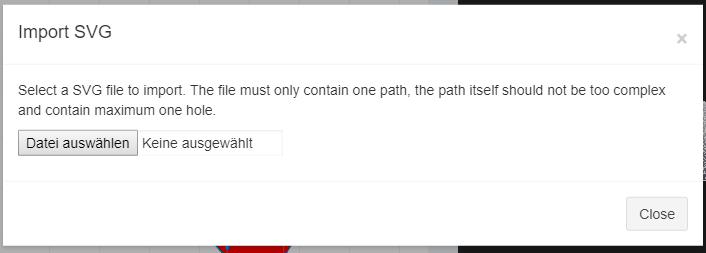
Now the import dialog opens, you can either click and browse for a file or use drag and drop. SVG files with one path and a maximum of one hole are supported. You might want to use Inkscape if you SVG does not meet the requirements for example to combine multiple pathes into one.
You can now import a SVG also into the second layer, this can be the same (like in this example) or a different SVG. You can also add additional layers by using the "+" sign. If you are using different SVGs make sure that they are somewhat similar (mainly having roughly the same number of points). Ideally you use one base SVGs that you modify and create additional SVGs from it.
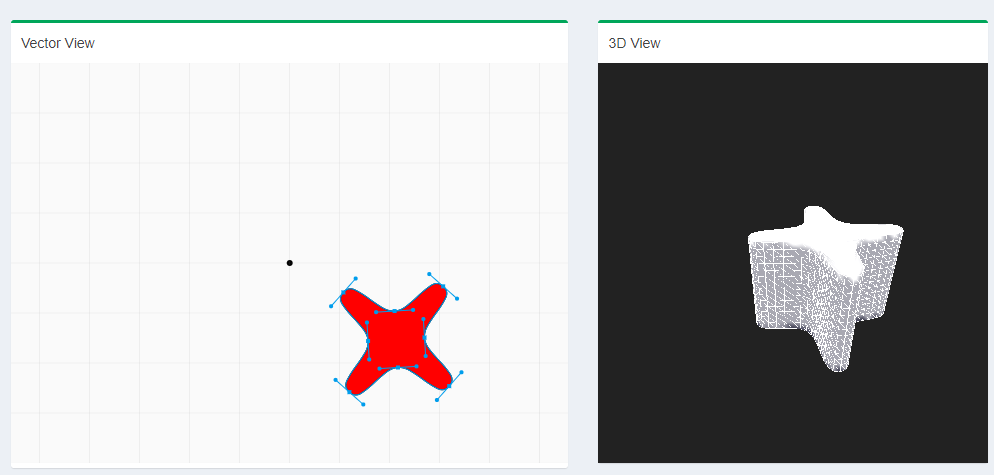
In this screenshot two times the same SVG was imported
You can now manipulate how PlastiSketch builds the 3D OBJ. For example you can change the height:
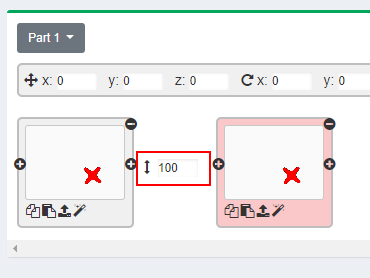
To change the height you can change the number highlighted here in red.
You can also use other functionalities on the left to change the layers of the 3d obj, for example rotate or scale.

Further Reading
How to create a basemesh for subdivision modeling tools like Rocket 3F or Silo 2 using PlastiSketchUse sculpting tools together with PlastiSketch
Create a custom pull handle with PlastiSketch and Tinkercad
How to create a 3D shape from standard shapes